Ten Fun Ways to Use Patterned Paper
Patterned paper is a staple in any crafter's supply. But sometimes, creative minds could use a little inspiration for using these tried and true paper crafting products. The BPC teachers have compiled ten inspiring ways to use patterned paper in your next project! Create a stunning quilt design with Zinia Amoiridou in Collage Backgrounds. Make gorgeous framed artwork with Paige Evans in Afternoon Crafts. And design your own embellishments with Ashley Fowler in DIY Embellishments for Pocket Pages. Try all these patterned paper projects and more with the BPC teachers!

Build a quilt inspired background.
Collage Backgrounds, Zinia Amoiridou
Use 6" x 6" pattern paper and cut it into 1" squares. Then, cut all those squares in half to create triangles. Trace a cross that goes through the middle of your base. Place the first four triangles in the middle. Continue to add more triangles and create a spiral background. Embellish your project until you are happy with the result.

Mix patterns like a pro.
Patterned Paper Play, Nicole Nowosad
Stick with a collection to create fast and easy color and pattern combinations. But don’t be afraid to mix patterned papers from different manufacturers or collections as you become an expert! Limit the number of patterned paper choices. Start with four to five papers, and as you become more comfortable in your ability to combine pattern and color, you can add in more and more as you consider the other criteria. Use contrasting color for impact. Consider the color wheel, and use a contrasting color. For example, add in orange when using green, as it's a contrasting color. Or add in a pop of black for a contrasting effect. Use a variety of patterns. Try not to mix too many stripes or polka dots. Rather, mix in one of each pattern that has similarly toned colors. Use bold colors or patterns in moderation, such as in accents or smaller shapes. Mix in neutrals so your page is easier on the eye.

Organize your patterned paper collection.
Craft Room Rehab | Paper, Carson Riutta
Once I'm done with a collection or kit, I file the remaining papers vertically in a color-coded system in a single large plastic box from the Container Store. I also keep my most loved and most current papers in an upright file box on top of my workstation. This allows me to quickly look through my newest and prettiest papers when starting a project.

Create stunning home decor.
Afternoon Crafts, Paige Evans
All you need is your favorite papers, a frame with a nice depth (or a shadowbox), some dimensional and double-sided adhesive, and preferably a Silhouette Cameo (although this project can be done by hand). Pick your papers, and place them in order before you start cutting. These frames would make such a lovely and inexpensive gift for an anniversary, Mother’s Day, neighbor, teacher, and more!

Back a cut file with patterned paper.
Cut It Out, Ashley Horton
Any time you use a cut file as a stencil for a layout or project, you always have the positive shape left over. Instead of throwing it away, use it in a different way for another layout. Use the positive cut file and back it with different patterned papers to add a completely different look from the layout you created with the negative space. This technique allows you to use one cut file multiple times on your layout but change the look by backing each one with various patterned papers. The design possibilities are endless!

Save your patterned paper scraps from a layout to create a card.
Two in One, Rebecca Keppel
Back in the day, I remember reading in a scrapbook magazine that it was a good idea to use the scraps from your layout to create a card while they were still out rather than put them away, or worse yet, throw them away! That's what this project is about—using up the materials, supplies, and ideas that you have out for your first project to also create a card. Think of the card stash you would have by now if you had been doing this for as long as you've been scrapbooking!

Create your own embellishments.
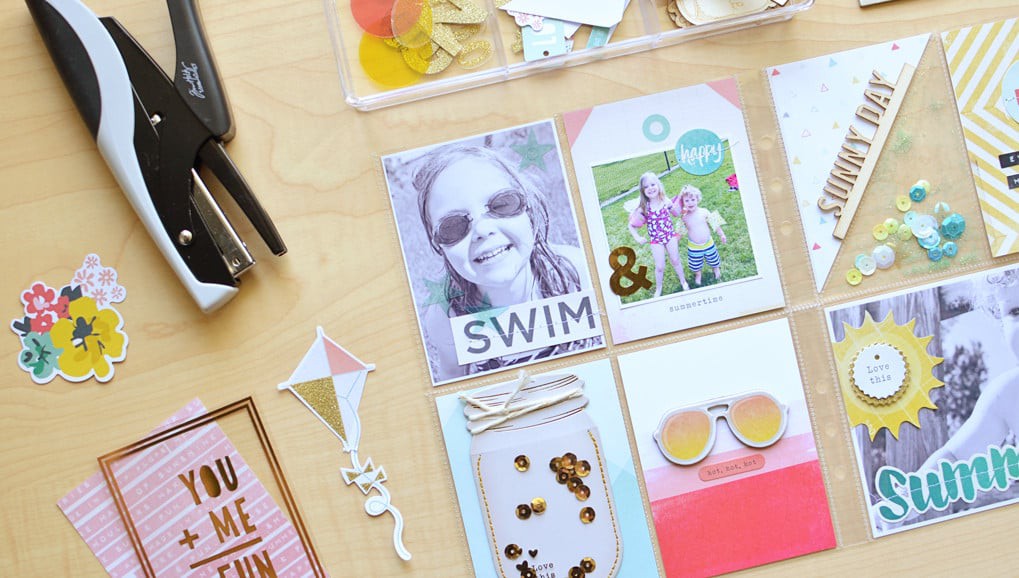
DIY Embellishments for Pocket Pages, Ashley Fowler
The fun thing about these envelopes is that you can even use them for functionality. For example, use them for tucking away a new word your baby is saying, or maybe a hidden message to a family member. I also just love the look of a closed envelope with layers! Either way, they’re too cute and I can’t get enough.

Layer with patterned paper.
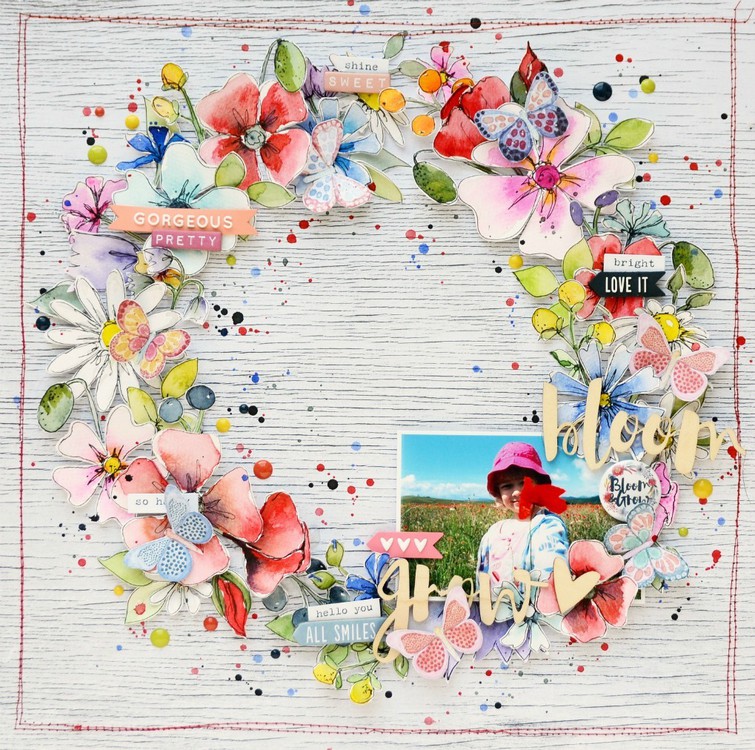
One by One | Clean Mixed Media Layers, Terhi Koskinen
Don't throw your paper scraps away. The smallest piece of old paper might be needed for the coolest layout ever! My simple golden rule is to choose one manufacturer's papers for one cluster. Normally, each manufacturer has their own shades and types of colors, and combining different collections looks nice and still balanced.

Use patterned paper scraps to create movement.
Smash Your Stash | Paper, Aly Dosdall
Use your paper scraps to create a dynamic page design. Include strips, and create a sense of movement or motion on your page. Check out how the tilted placement of the paper strips on this layout completely changes its tone. Adding a tilt to the page creates a sense of movement and energy, thus having a much greater impact than a basic horizontal alignment would. Playing around and trying fun things with your patterned paper is a great way to refresh and rekindle your excitement about your paper stash.

Paper piece an image.
Falling for Cards, Kimberly Crawford
To create this adorable pumpkin, we'll be die cutting patterned paper and assembling the pieces. Find dies or punches in your stash that will help you create a pumpkin perfect for fall. Then piece the papers together to create your image! What other images could you piece together with what's in your stash?
Grab your scissors, adhesive, and your patterned paper collection—and then come join the BPC teachers in the classroom to create one-of-a-kind projects! Remember, as a member of Big Picture Classes, you get access to our entire library of classes. Sign up now and start exploring!


Sign in or sign up to comment.
0 comments